We now have a master light frame we created in the previous section, it is now time to prepare the image for processing.
Rotate the Image
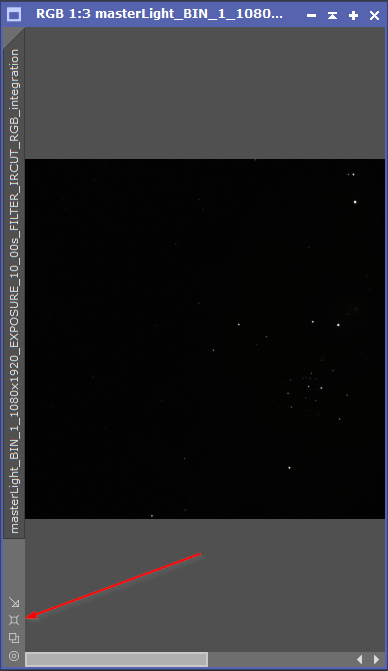
The Seestar imaging chip is aligned vertically so to make a presentable image, I like to rotate the image 90 degrees counter-clockwise. This of course is up to you (some subjects may be more presentable vertically, e.g. a comet). To do this we use the Image->Geometry->Rotate 90 Degrees counter-clockwise menu.
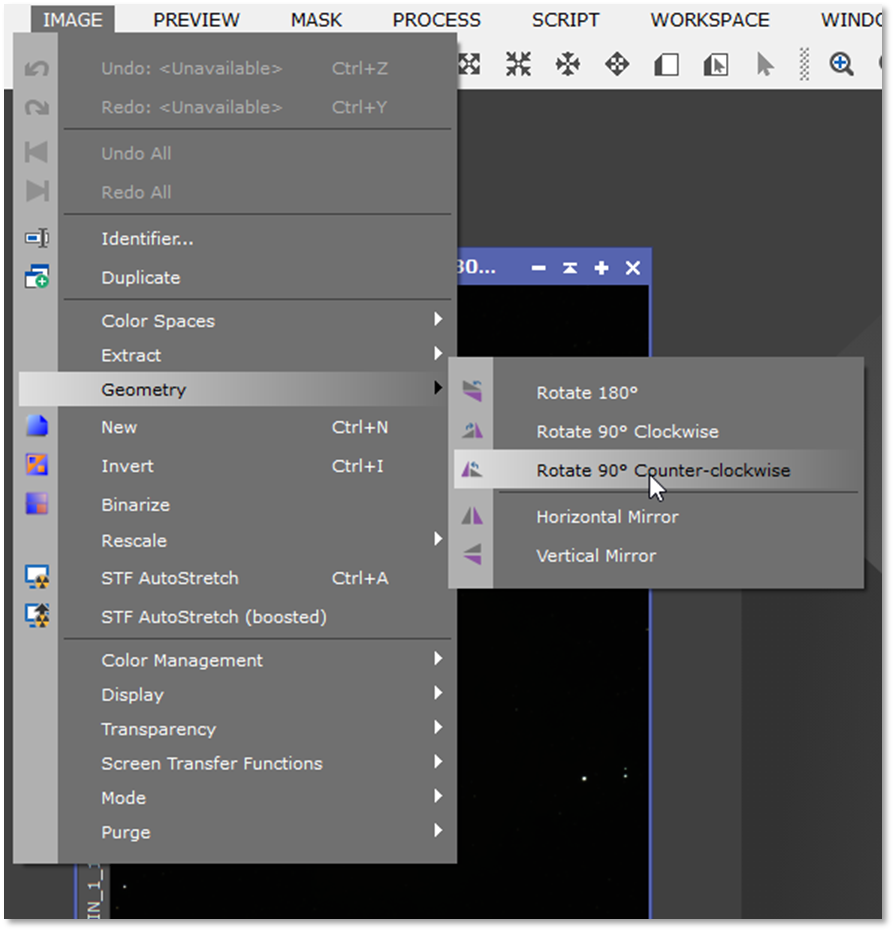
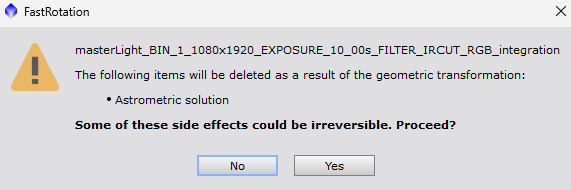
When you see the dialog appear about the Astrometric Solution being deleted, select Yes. We will get this information back later.
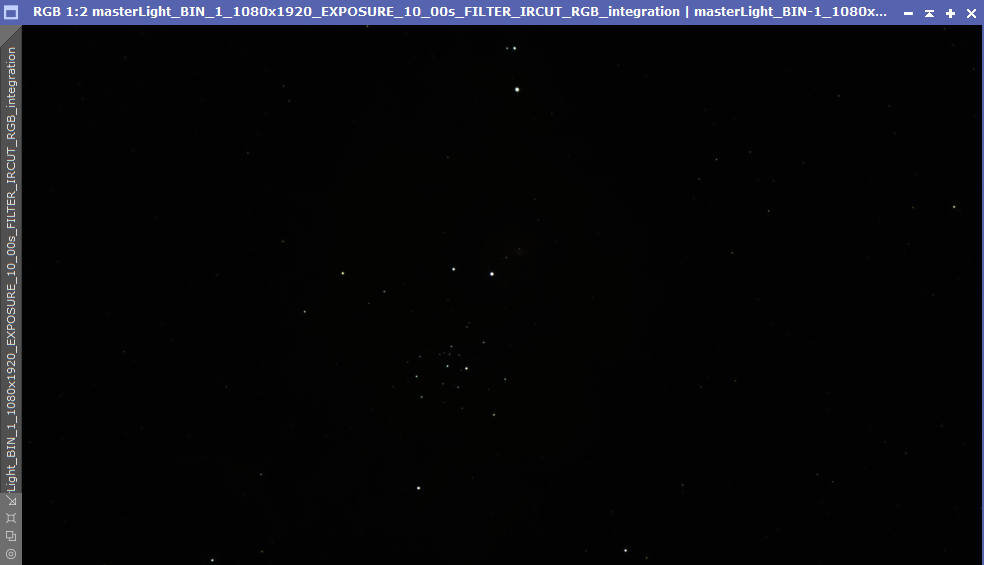
The image will appear like this once rotated. Select the indicated button to match the window to the picture.
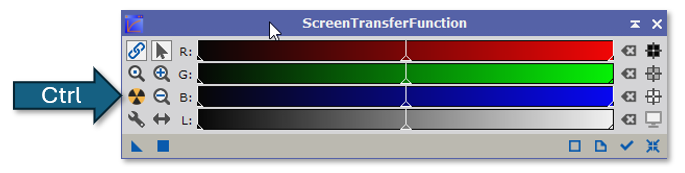
Screen Transfer Function

The Screen Transfer Function (STF) in Pixinsight is a process that allows you to visually adjust how an image is displayed on your screen without actually changing the underlying pixel values. This allows you to see the image with different levels of contrast and brightness for better visualization during the Non-Linear stage of image processing. This protects the underlying data until Non-Linear processing is started.
STF can be tweaked to your liking allowing you to control things such as background brightness. To adjust these settings, Ctrl+Click on the Radiation Symbol on the left side of the STF dialog.
One of the parameters that many change is the Target Background. This controls the background brightness. A value between 10 and 15 is recommended. The default value may be adequate if background noise is not too bad and there is a great deal of nebulosity.
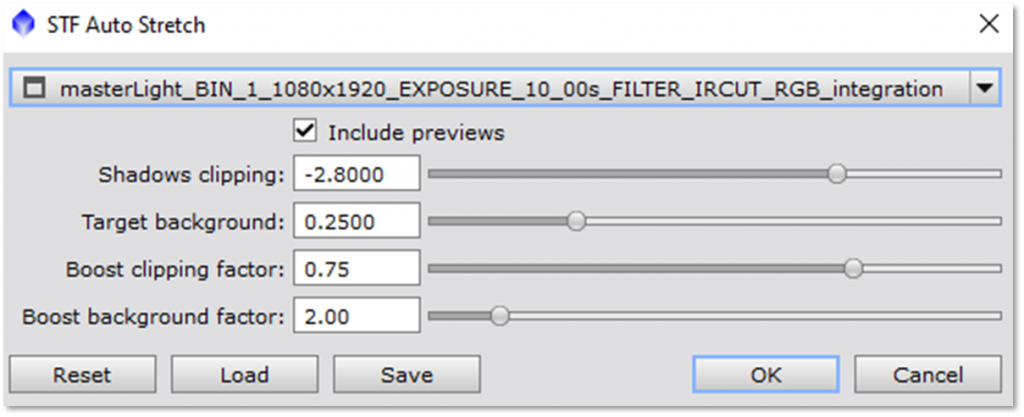
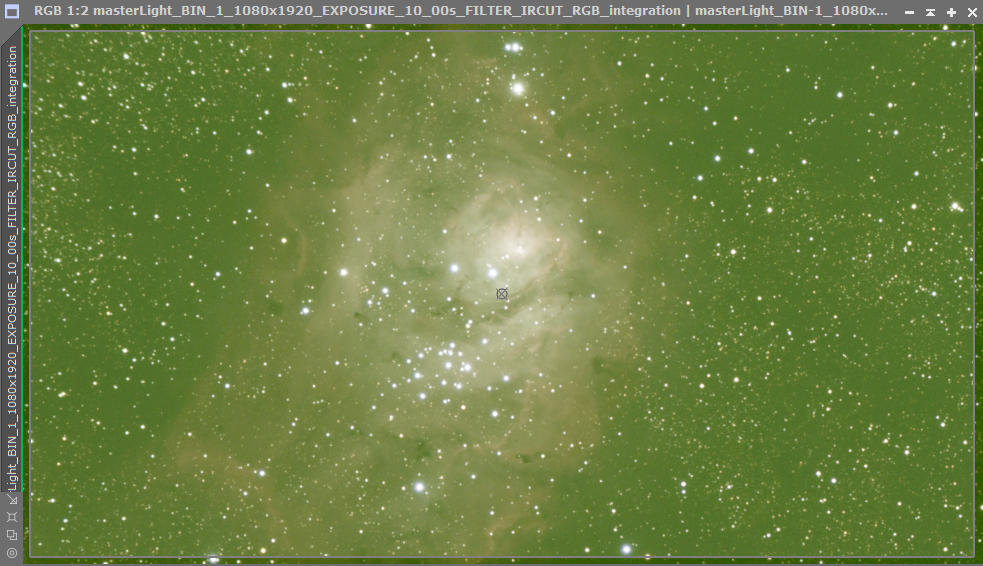
When you click “OK”, the image will be stretched (again, not affecting the underlying pixel values). The image will have a yellow-green tint to it, don’t worry, we will fix this in the next session.
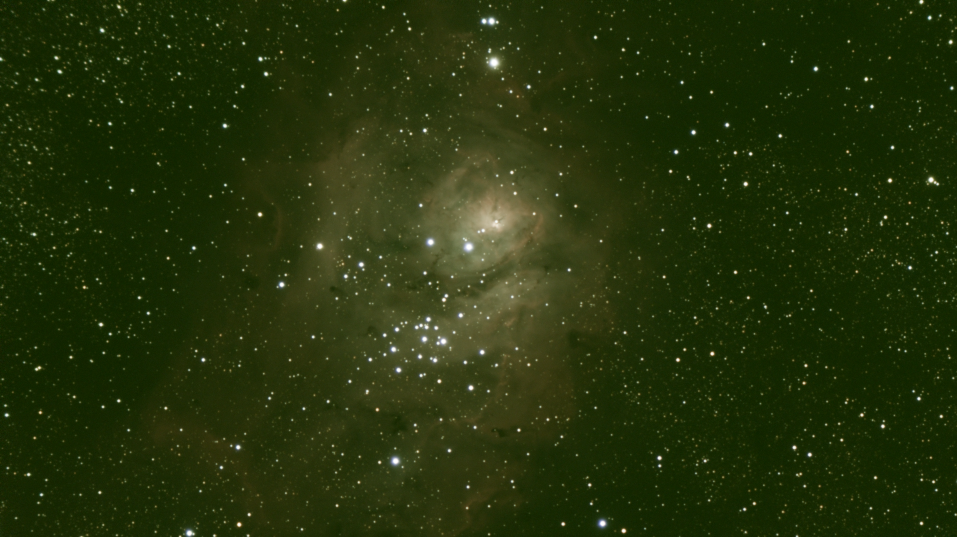
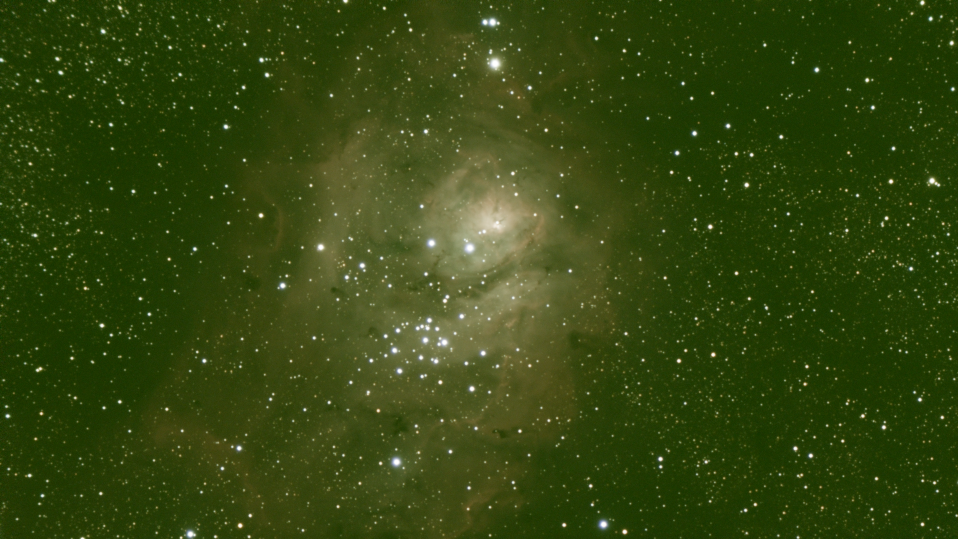
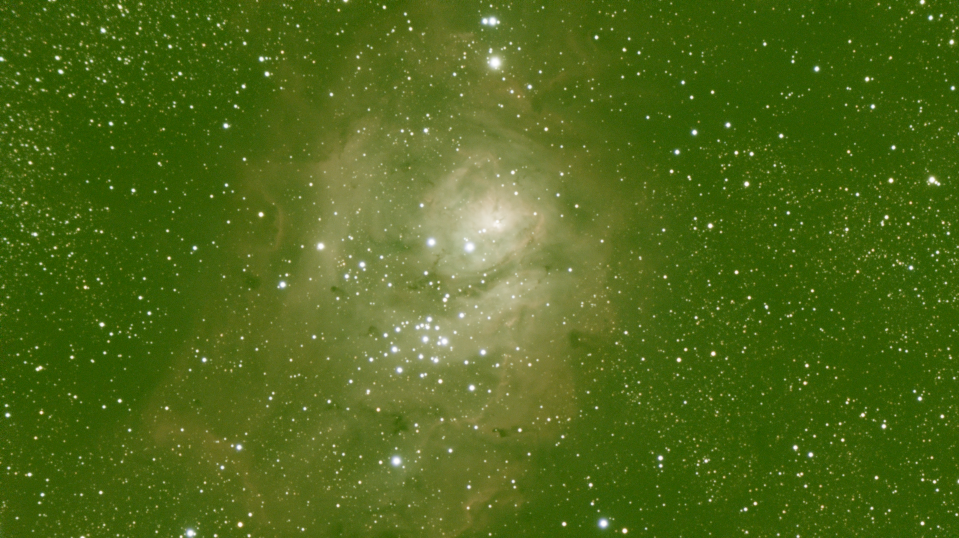
Some examples of the Target Background Values:
Dynamic Crop

Dynamic Crop is a plugin that allows you to crop your image. With the Seestar, there are usually field rotation effects present and cropping the image allows you to only capture the areas of the image that do not have these effects. This step is optional as you may not have any bad data from field rotation.
When you open the Dynamic Crop plugin, the active view cursor changes and it allows you to click and drag a box overlay.
You can adjust this box by click-dragging the sides and corners. You can also rotate the box as needed. When you are satisfied with what you want to crop, select the green checkbox in the lower right of the DynamicCrop Dialog.
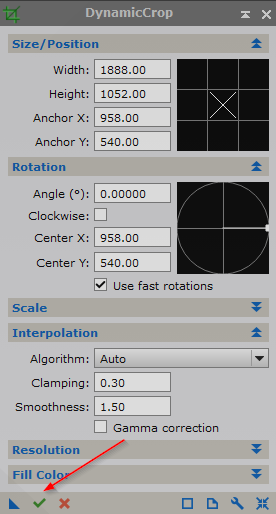
The active image will now be cropped.
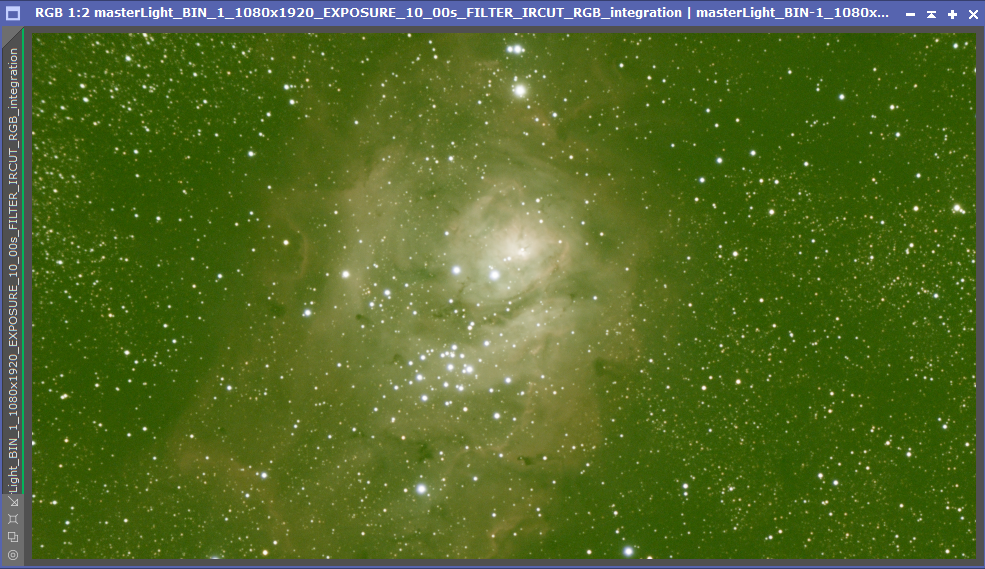
Image Solver
When you change the geometry and/or crop an image, any astrometric data is lost. We need to get that Astrometric data back because the SpectrophotometricColorCalibration tool needs it to color balance the image. To do this, open the ImageSolver plugin.
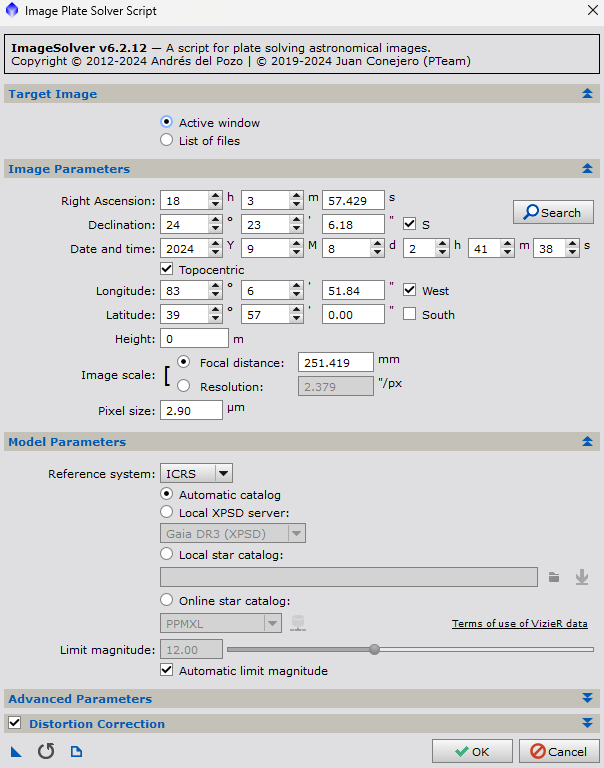
The default values should work as the Seestar provides the required information in the original files. If not, make sure the Image Scale Focal Distance is set for 250mm and the Pixel Size is set to 2.9. Click OK.
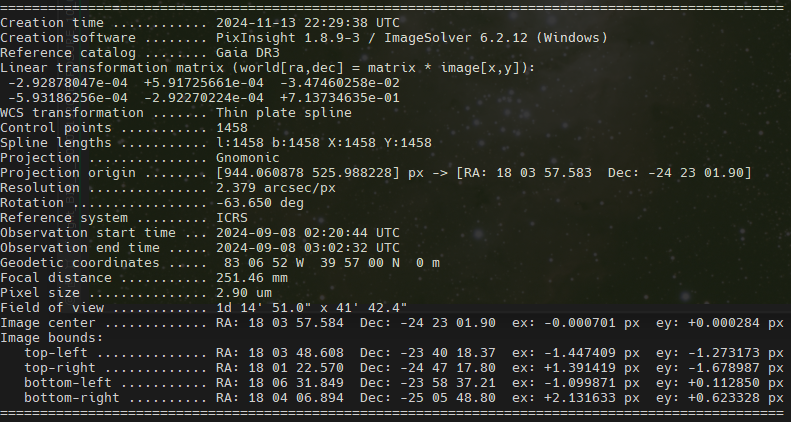
When the process finishes, you will see something similar to the following in the Process Console: