
In this section of the tutorial, I will be outlining how to install the additional tools and plugins used. All of the premium plugins (and Pixinsight itself) have trial versions. The assumption is that you have already registered for trial versions of each and you have Pixinsight installed.
Gaia DR3/SP
The first item to get installed is the Gaia DR3/SP database. This is used for the various astrometric plugins (such as SpectrophotometricColorCalibration or SPCC). This is a database of astrometric solutions for millions of stars provided by the Gaia spacecraft.
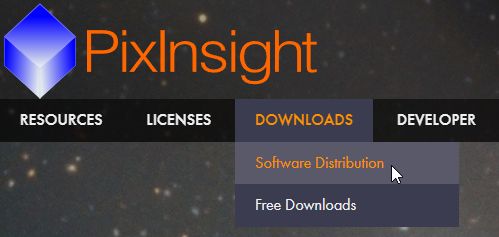
In order to get the database, you have to be a trial or registered user of Pixinsight. It is available from their Downloads->Software Distribution menu.
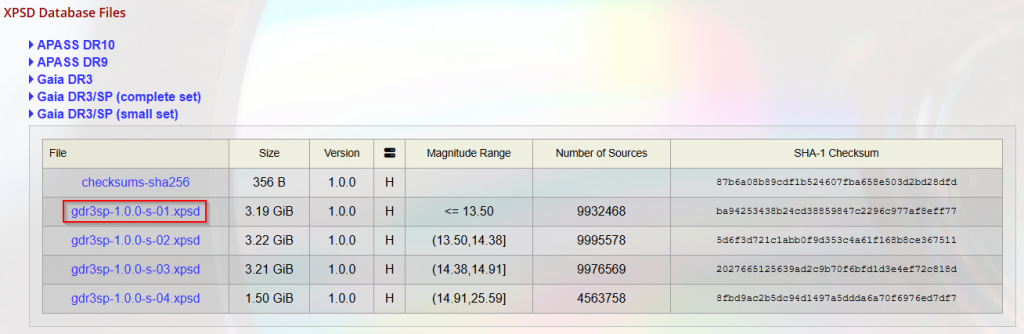
Under the XPSD Database Files section, select Gaia DR3/SP (small set) and download the gdr3sp-1.0.0-s-01.xpsd file to a folder on your computer (I use c:/Program Files/PixInsight/databases). The file is over 3G so it could take some time.
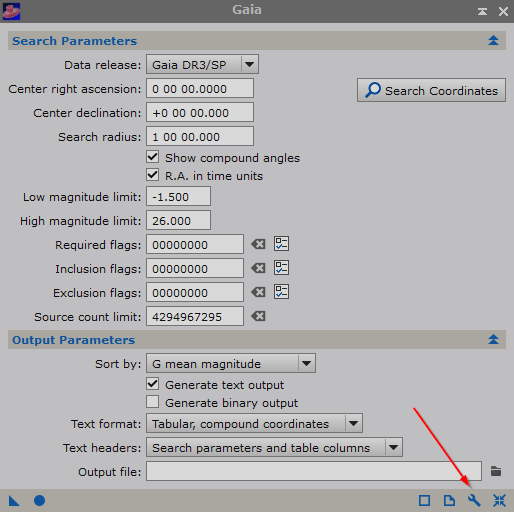
Once downloaded, open Pixinsight and select the Gaia plugin.

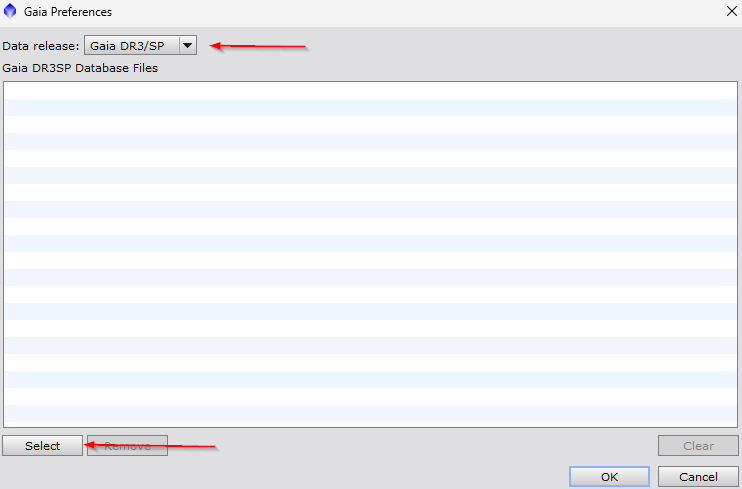
In the lower right corner of the plugin dialog box, select the “wrench” icon.
In the dialog box that appears, make sure the “Data release:” dropdown is selected to Gaia DR3/SP and then select the “Select” button.
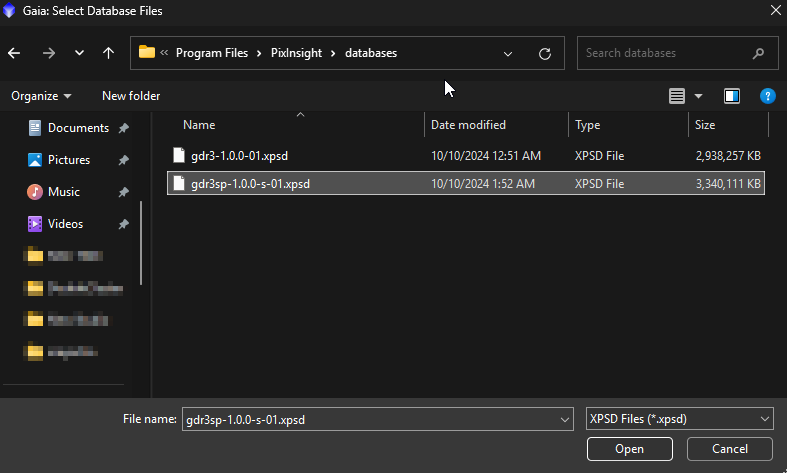
Navigate to the folder that contains the database file and select the gdr3sp-1.0.0-s-01.xpsd file. Select the Open button.
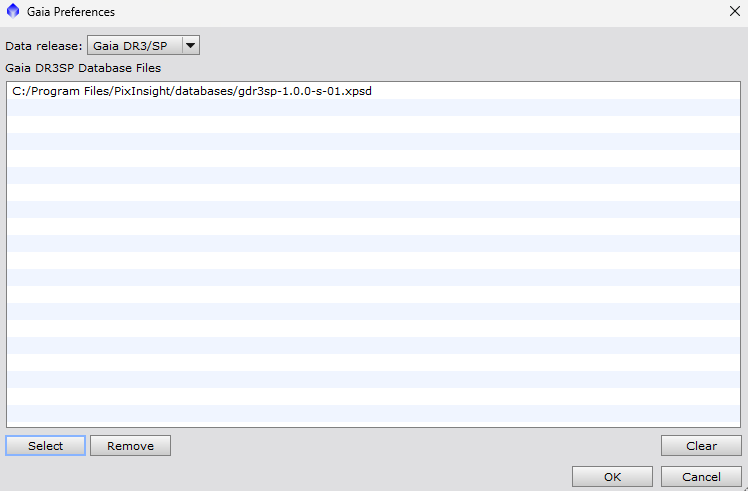
Once this has been done, you will find that the database file is now associated with the Gaia DR3/SP Data Release. Select OK to complete the installation.
Pixinsight Toolbox
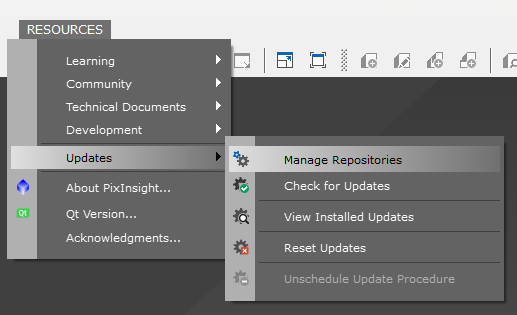
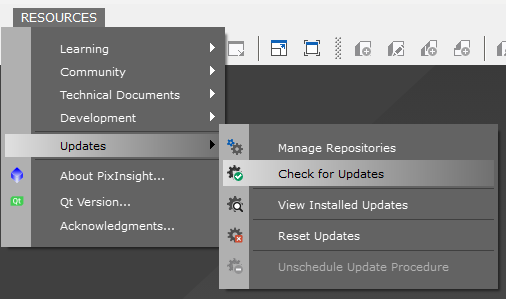
Pixinsight Toolbox is installed using the Pixinsight Repository. In Pixinsight, select Resources->Updates->Manage Repositories menu.
In the Manage Update Repositories dialog, select the “Add” button.
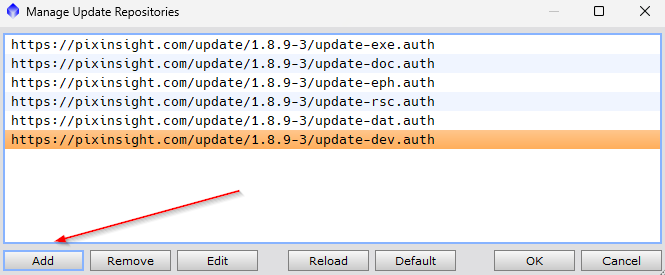
In the Add PixInsight Repository dialog, fill in the following URL: https://www.ideviceapps.de/PixInsight/Utilities and click ok.

The new repository will be added. Click ok.

To do the actual install, select the Resources->Updates->Check for Updates menu item.
Pixinsight will now check for updates and install the Pixinsight Toolbox. This will require a restart of Pixinsight.
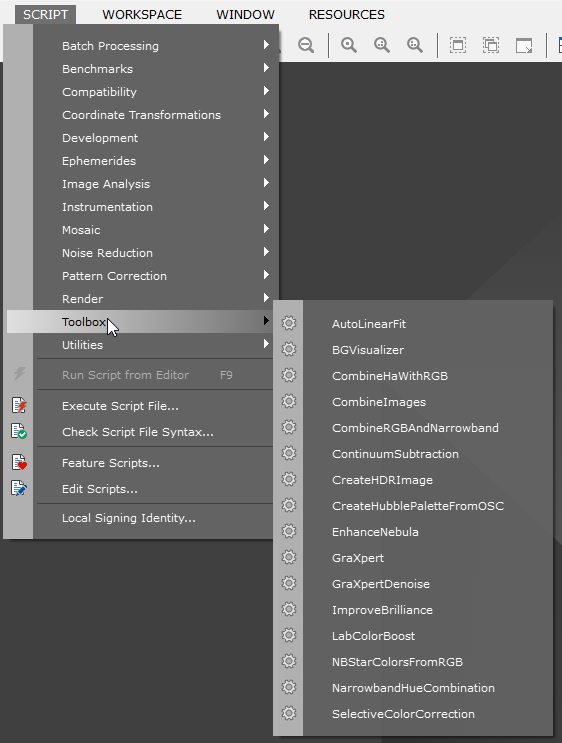
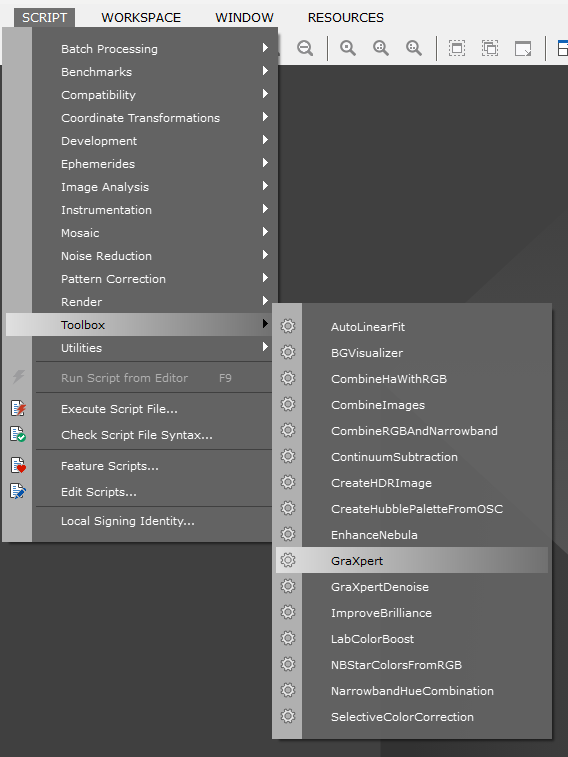
To verify that the Toolbox has been installed, select Script->Toolbox. You will see a variety of scripts that have been added.
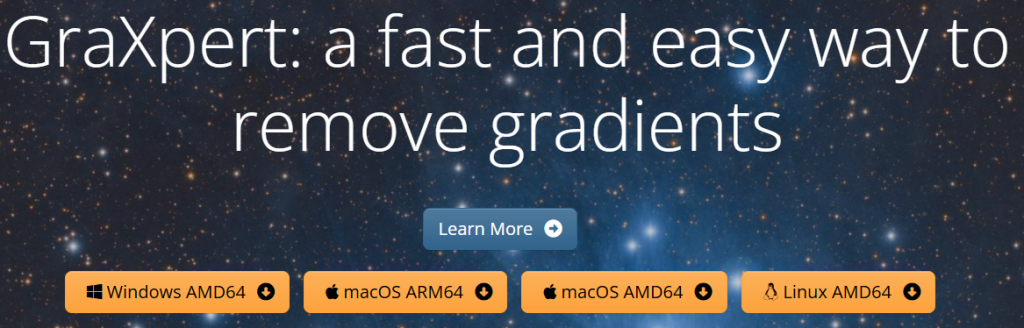
Graxpert
The next item to install is Graxpert. Go to the Graxpert page and download/install Graxpert. Select the appropriate version for your operating system.
Once installed, go into Pixinsight and select Scripts->Toolbox->Graxpert
In the dialog box, select the “Wrench” icon in the lower right.
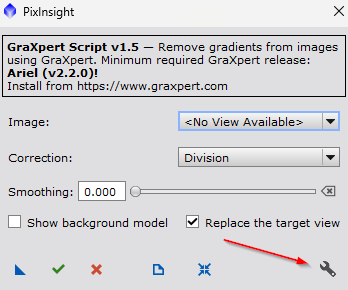
When it asks to find it automatically, select No.
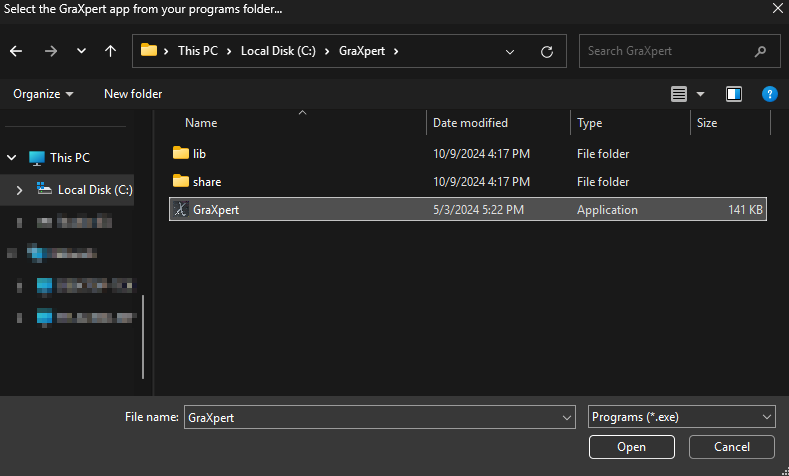
In the File dialog that appears, navigate to where Graxpert was installed (on my machine, c:/GraXpert) and select the GraXpert application file.
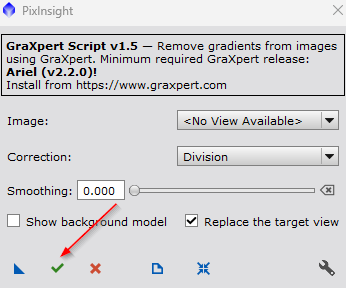
Select the Green checkmark button.
RCAstro Plugins
Russell Croman, a well known and talented Astrophotographer, created some excellent plugins for Pixinsight that my workflow relies heavily on. The plugins can be used on a trial basis and are not too expensive considering how powerful they are. We will be using three of his plugins in this tutorial:
Purchase or obtain a trial license for the plugins. Once you have your licenses, you can proceed to install the plugins.
Just like the Pixinsight Toolbox install, we will be using the Manage Repositories and Update functionality. So for these plugins, do the following:
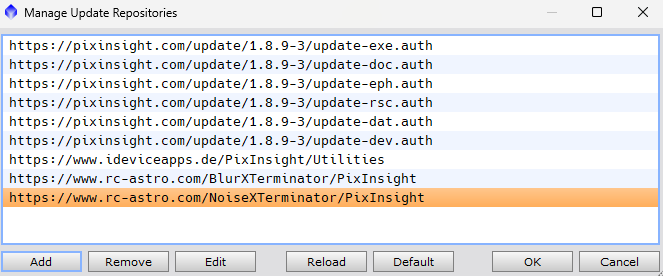
Go back to the Resources->Updates->Manage Repositories and add the following repositories:
https://www.rc-astro.com/BlurXTerminator/PixInsight
https://www.rc-astro.com/NoiseXTerminator/PixInsight
Once finished, you should see the following:
Select ok, check for updates, and once Pixinsight restarts, you can verify if the plugins are installed by seeing if the following plugins are in your Process Explorer:


You will need to open each plugin and add the license received and select the “Wrench” icon in the bottom right of the dialog box. You will copy the license code into the dialog box for the corresponding tool.
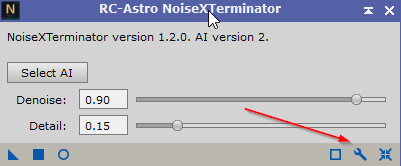
MAKE SURE YOU APPLY THE CORRECT LICENSE CODE! If you don’t the tool will not be licensed properly.