This is the final section of the tutorial where we enlarge and save our file.
Resample
Resampling your image is an optional step. Enlarging the image will make better prints if you choose to do so. This will destroy the Astrometry Solution that we ran before, but we will run it again in the next step of this section.
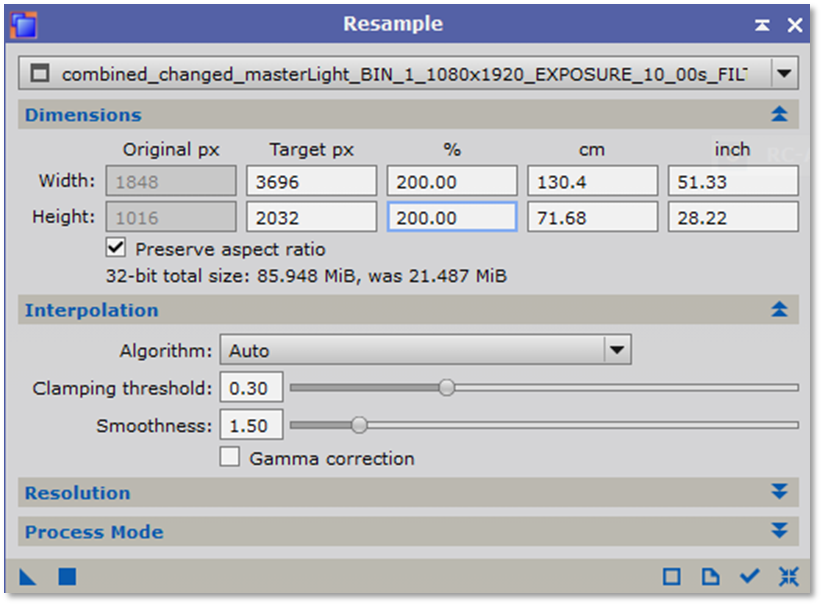
Open the Resample tool and change the “%” to 200 to double the image size.
Final Image Solver
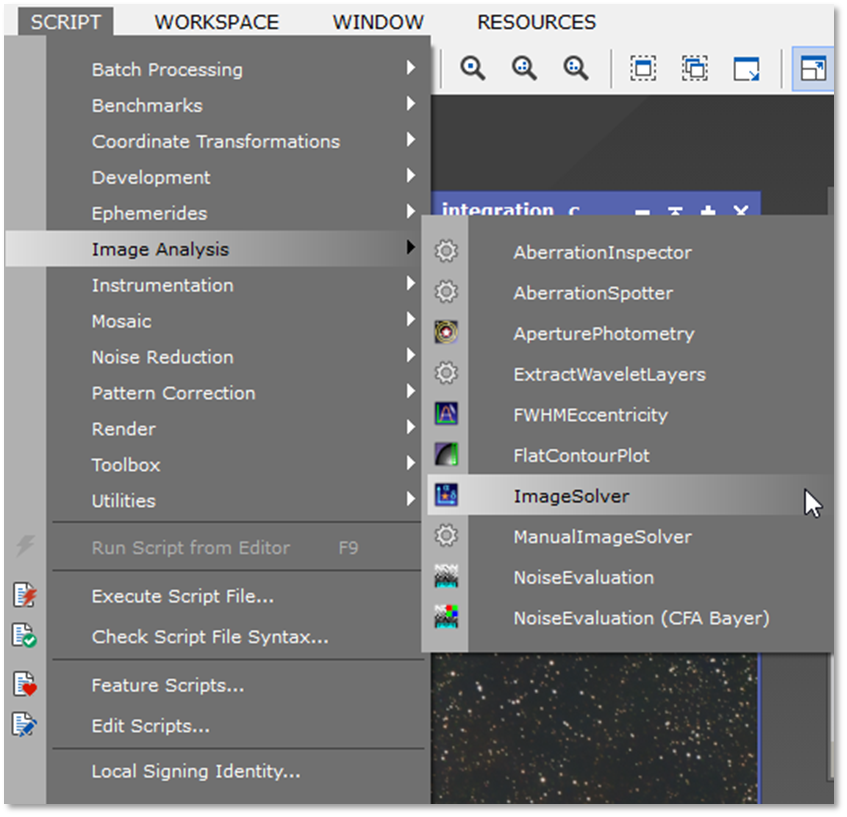
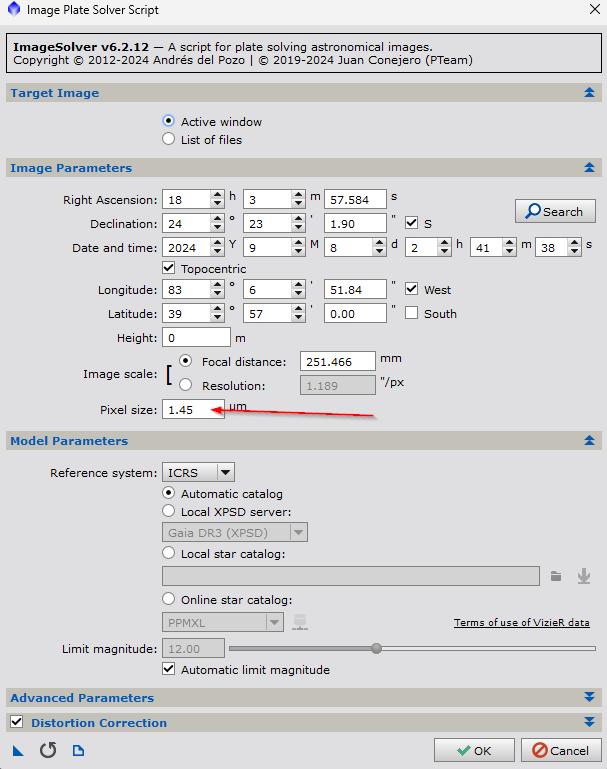
Open the ImageSolver as before by either double clicking on the ImageSolver plugin or by going to Scripts->Image Analysis->ImageSolver
Notice the pixel size was halved. This is because of the resampling.
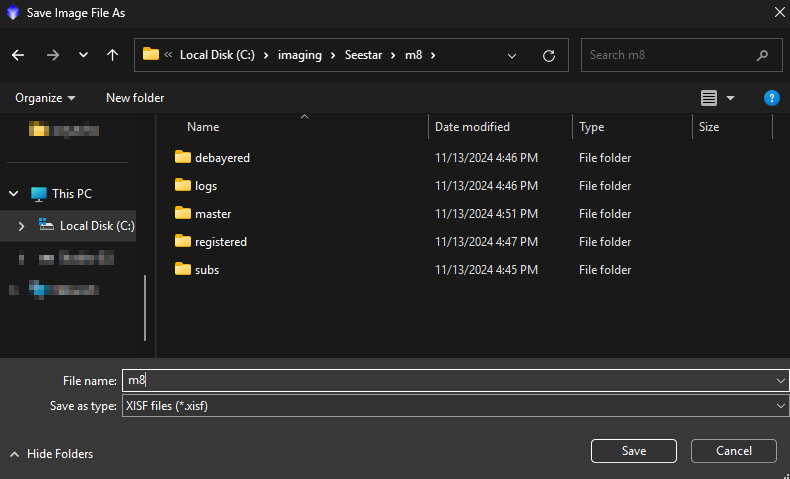
Save Final XSIF File
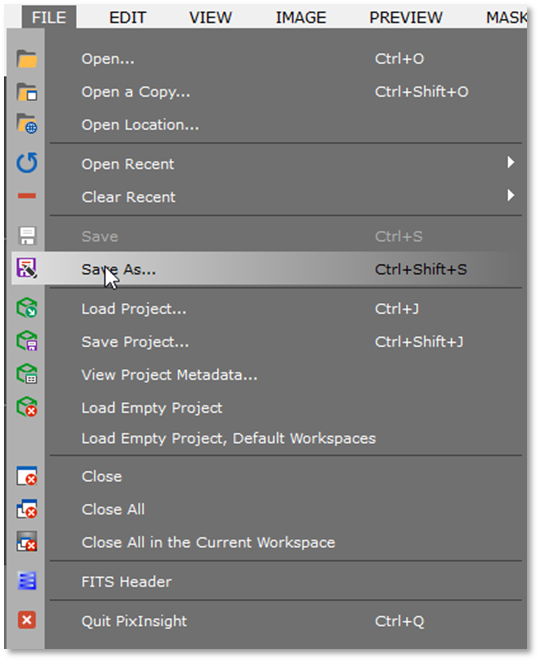
Let’s save the image. I like the XSIF format as it stores more information about the image than with FITS files. My preference is to name the file after the object (m8.xsif) in the root of your working directory (c:\imaging\seestar\m8)
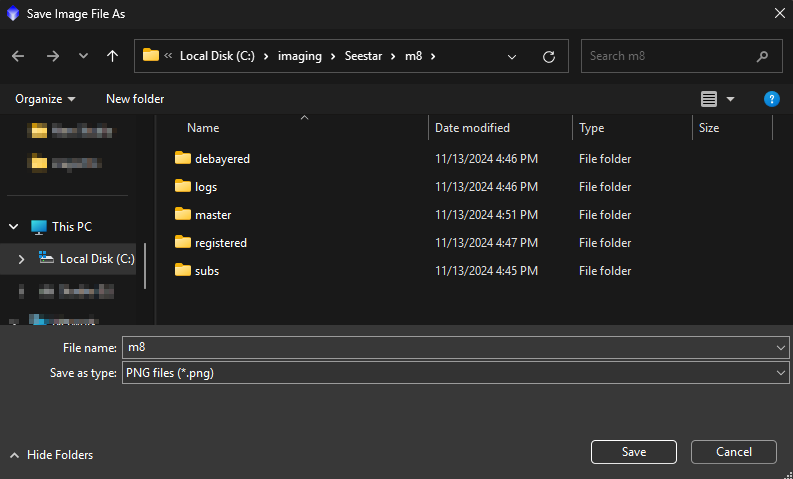
Export to PNG
In my opinion, I like the PNG format better for web publication. Do the same thing as before, but change the “Save as type:” as PNG. Save it in the root directory again (c:\imaging\seestar\m8)
Congratulations! You have completed the course!