
This tutorial began as a clinic that I started for new Smart Telescope users who would like to learn more about Pixinsight and how to process the images coming from their smart telescopes. It is a workflow that I have come up with that assisted me and it is similar to how I processing images from my main imaging rig.
This is not designed to be the only workflow you can use, but it gives you a start on a workflow that I use. The goal is to allow you to become familiar with Pixinsight, leveraging new tools and plugins, and hopefully assist you in finding your own workflow that you think is best. I will be leveraging some external tools and plugins that I outline below.
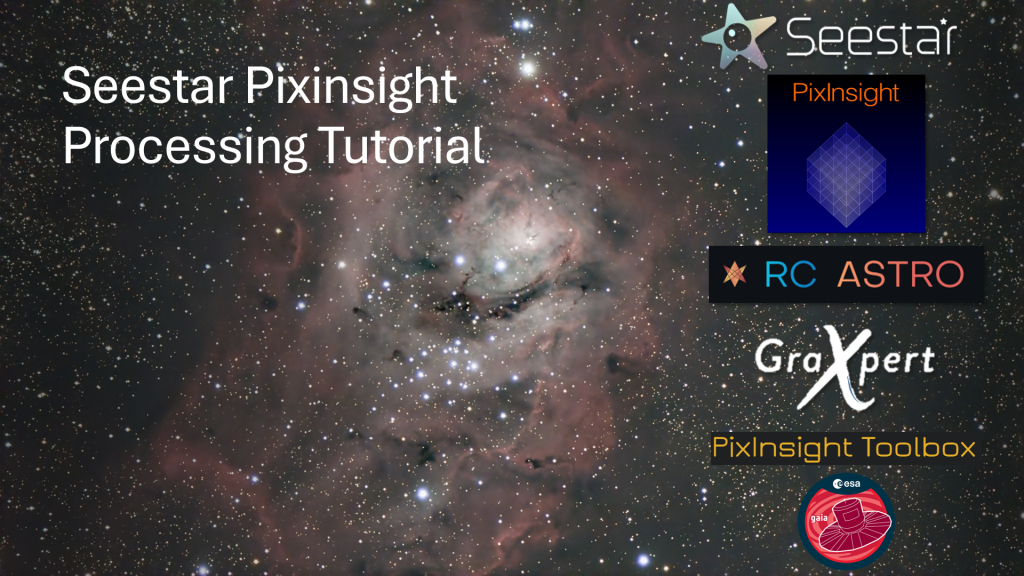
Requirements
Below are the required tools that this tutorial uses and is a great investment if you want to continue to learn more about astroimaging and will be very beneficial if you start moving into a more advanced imaging rig. All of these tools are either free, or comes with a 30 day trial.
- Pixinsight (Trial Version)
- BlurXterminator (Trial Version)
- NoiseXTerminator (Trial Version)
- Graxpert (Free)
- Pixinsight Toolbox (Free)
- Gaia DR3/SP (Must be a registered or trial user of Pixinsight)
Course Outline
The course is divided into the following sections
- Part 1 – Installation of the additional tools and plugins
- Part 2 – Stacking with Weighted Batch Pre-Processing (WBPP)
- Part 3 – Preparing the Image for Processing
- Part 4 – Linear Processing
- Part 5 – Non-Linear Processing
- Part 6 – Finalizing your Image
This tutorial will use one of my Seestar images that I took at John Glenn Astronomy Park on September 7th, 2024. The raw data files are available here.
My hope is that you learn to come up with your own workflow that works for you. I just want to get you started.
Thank you for sharing the Pixinsight tools, it will help me to encourage my school’s Astronomy Society students to get into digital process astroimaging.
Just starting a lot to learn. Everything is a first.