

ZWO recently added the ability to make Flat Fields for the Seestar. ZWO provides a few ways on how to take your flat fields, but I wanted to design and make a flatfield lightbox to make it convenient and consistent.
Why use a dedicated flat field device for your Seestar?
Question: Why would you want this device when you can use a piece of paper during the day to produce your flat frames?
Using paper may not produce ideal flats as gradients may be introduced based on sun position, paper position, and a calm wind.
Question: What about using a smart device like a phone or a tablet?
Smart device screens create more consistent flat frames, but it can be a challenge to keep your smart device well-balanced on the Seestar.
Question: Why use flatfields anyway?
In many cases, flat fields are not necessary. If you simply enjoy getting great pictures out of the Seestar without any post-processing, you probably don’t need it. However, if you plan to post-process or do any type of scientific contributions (e.g. variable star observing), having good flats makes sure you have the best data possible out of your Seestar. Sometimes banding may appear and taking an updated set of flats can help or fix the problem.
Make Your Own
I have provided the STL files on Thingiverse to allow anyone with a 3D printer to make their own. Instructions and a materials list is provided on Thingiverse.
Purchase One
If you don’t have a 3D printer, or you just want to get one already made, I can make you one for $40.00US + shipping to the continental US. I use Bambu Labs printers and Bambu labs filament for consistent results. If you are interested in purchasing one, please email me at jhissong@gmail.com. I accept Paypal.
If you purchase one, you get:
Flatfield Lightbox for Seestar
S50 magnetic adapter plate
S30 magnetic adapter plate
Power supply/switch box
Set of instructions
Instructions for Use
The Flatfield Lightbox for Seestar is easy to use:
- Place two AA batteries (not included if you purchase) in the correct orientation into the power supply/switch box.
- Connect the power supply/switch box to the EL Panel cable coming out of the flatfield lightbox.
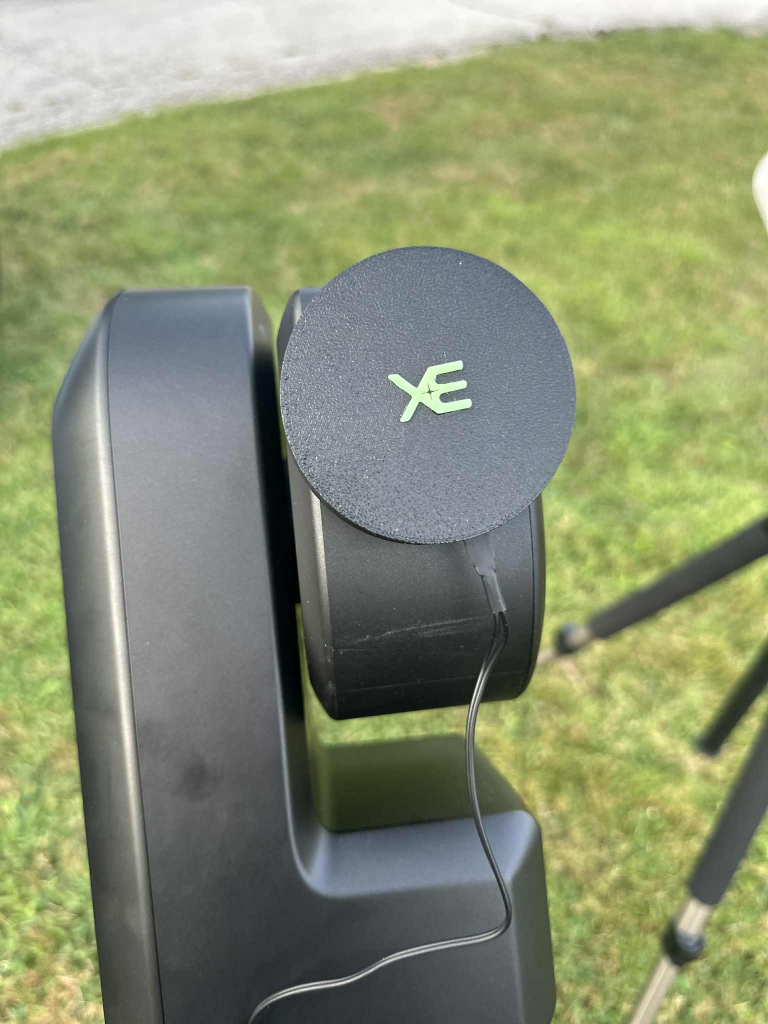
- Place the appropriate adapter plate for your Seestar on the flatfield lightbox. It will auto-orient itself with the magnets.
- Place the flatfield lightbox into the Seestar aperture opening. It is held in place by friction.
- Turn on the EL Panel by selecting the button on the power supply/switch box.
- Follow the instructions provided by ZWO to take your flats.
It is recommended to use the setting where the EL Panel stays on. When you select the button again, it will blink the EL Panel at a fast rate. Selecting it again slows the blinking rate. Selecting it one more time turns off the EL Panel.
I use a standard battery-powered supply available on Amazon. Amazon also has versions that can use USB power.
NOTE: Purchased flatfield lightboxes are made with PLA material which is susceptible to warping at temperatures higher than 60C (140F) degrees. Do not leave it in direct sunlight or keep it in a place that can get hot (e.g. a closed car on a hot summer day). If you are building your own, using PETG can be used to be more heat resistant.